Witwiqi WK-01 Ultra Magnus shoulders kit
Studio Series Magnus is a marvel of engineering, more or less downsizing the similarly innovative MP to around half the size. Despite this, probable durability and cost concerns led to Magnus having overly wide shoulders. For the longest time, upgrade kits for Magnus focused on filling gaps or specific weapons from one piece of media or another. In comes Witwiqi, a company with an ambitious kit that downsizes the shoulders and maintains transformation. My kit just arrived, so how is it?
Not really the kit's fault but it's a bitch to obtain. China's cracked down on eBay, meaning the sellers I used to buy from no longer do business. Local shopping platform Shopee only had one seller who carried the kit but appears to be inactive. Aliexpress is an option, but for my country, this means paying extra and having to go to the post office to pick it up. I bought the kit from Tommyparkstore, who had a good reputation and is active on TFW. Great service. They contacted me early on to clarify shipping details and shipped the kit out and got it to me in like 3 days. Fastest I've had from China. They didn't have an option to ship the kit in its original packaging though.
Kit comes with the two big blue shoulder parts, two metal pins, four red disks and two red rods. Instructions are included but they're not useful and ask you to go onto their social media for installation instructions. Not great but par for the course unfortunately for these type of kits.
Installation is moderately difficult. It involves punching out the pins that hold the sides of the torso/shoulder attachment points on each side as well as the red flaps on either side of Magnus' neck. I would not recommend doing this for the inexperienced or faint of heart. I'd suggest trying to punch pins out on junker toys first. I used the arm removal feature and removed Magnus' head and waist, leaving just the torso block to work with. Use a 2mm pin punch and a hammer to hit the pins on the site of entry. This is a bit difficult to tell since some magnuses have the pins inserted in the top and some on the bottom. The site of entry will have a smoother pin head compared to the exit side which has a rougher finish. Place the toy on a folded up towel and hit the pins out with the hammer. This will require some amount of force. Eventually once the pins peek out enough, you can pull it out with a pair of pliers. Repeat this for the other side. This is similar for the red flap pins although with how short those are, they are likely to fall out without having to extract them. Applying heat might help a bit in making the pins easier to punch out but is not strictly necessary. If you really don't care about preserving the original parts, you can just cut through them with a saw or something.
Once the pins are out, take out the shoulder parts. Take the new parts and note that the rotating peg for the arms is offset and that it should be on the lowest configuration to get Magnus' shoulders in the neutral configuration. Note that the channel for the pins on their parts are slightly too narrow, making installation very, very difficult. They'll go in but it's going to be areal struggle. I'd suggest running a 2mm screwdriver or drillbit through the channel and a little lube. Once the new parts are installed, if you haven't already, use the arm removal feature to extract Magnus' arms from the old shoulder parts and use the same shaped pegs on the new shoulder parts to mount them. Next, install the red rods into where the pins on the neck flaps are and insert a red disk on either side. This part isn't mandatory, but it fills in the red things to either side.
Here is Magnus mid-installation to show the difference.
Here is Magnus with all the stuff installed.It noticeably improves his overall profile and silhouette, and the arms no longer seem disjointed from the main torso. The forward and backward articulation is now just a friction joint but the tolerances are decent, not too tight but not loose either. The new parts have a mushroom peg behind the shoulders that collide with the shoulders, limiting articulation slightly but you can just abduct the shoulders slightly to get around that. otherwise, no complaints in robot mode. Color matching is near-perfect. The new parts are slightly different but only if you scrutinize them, as they have a slightly different finish.
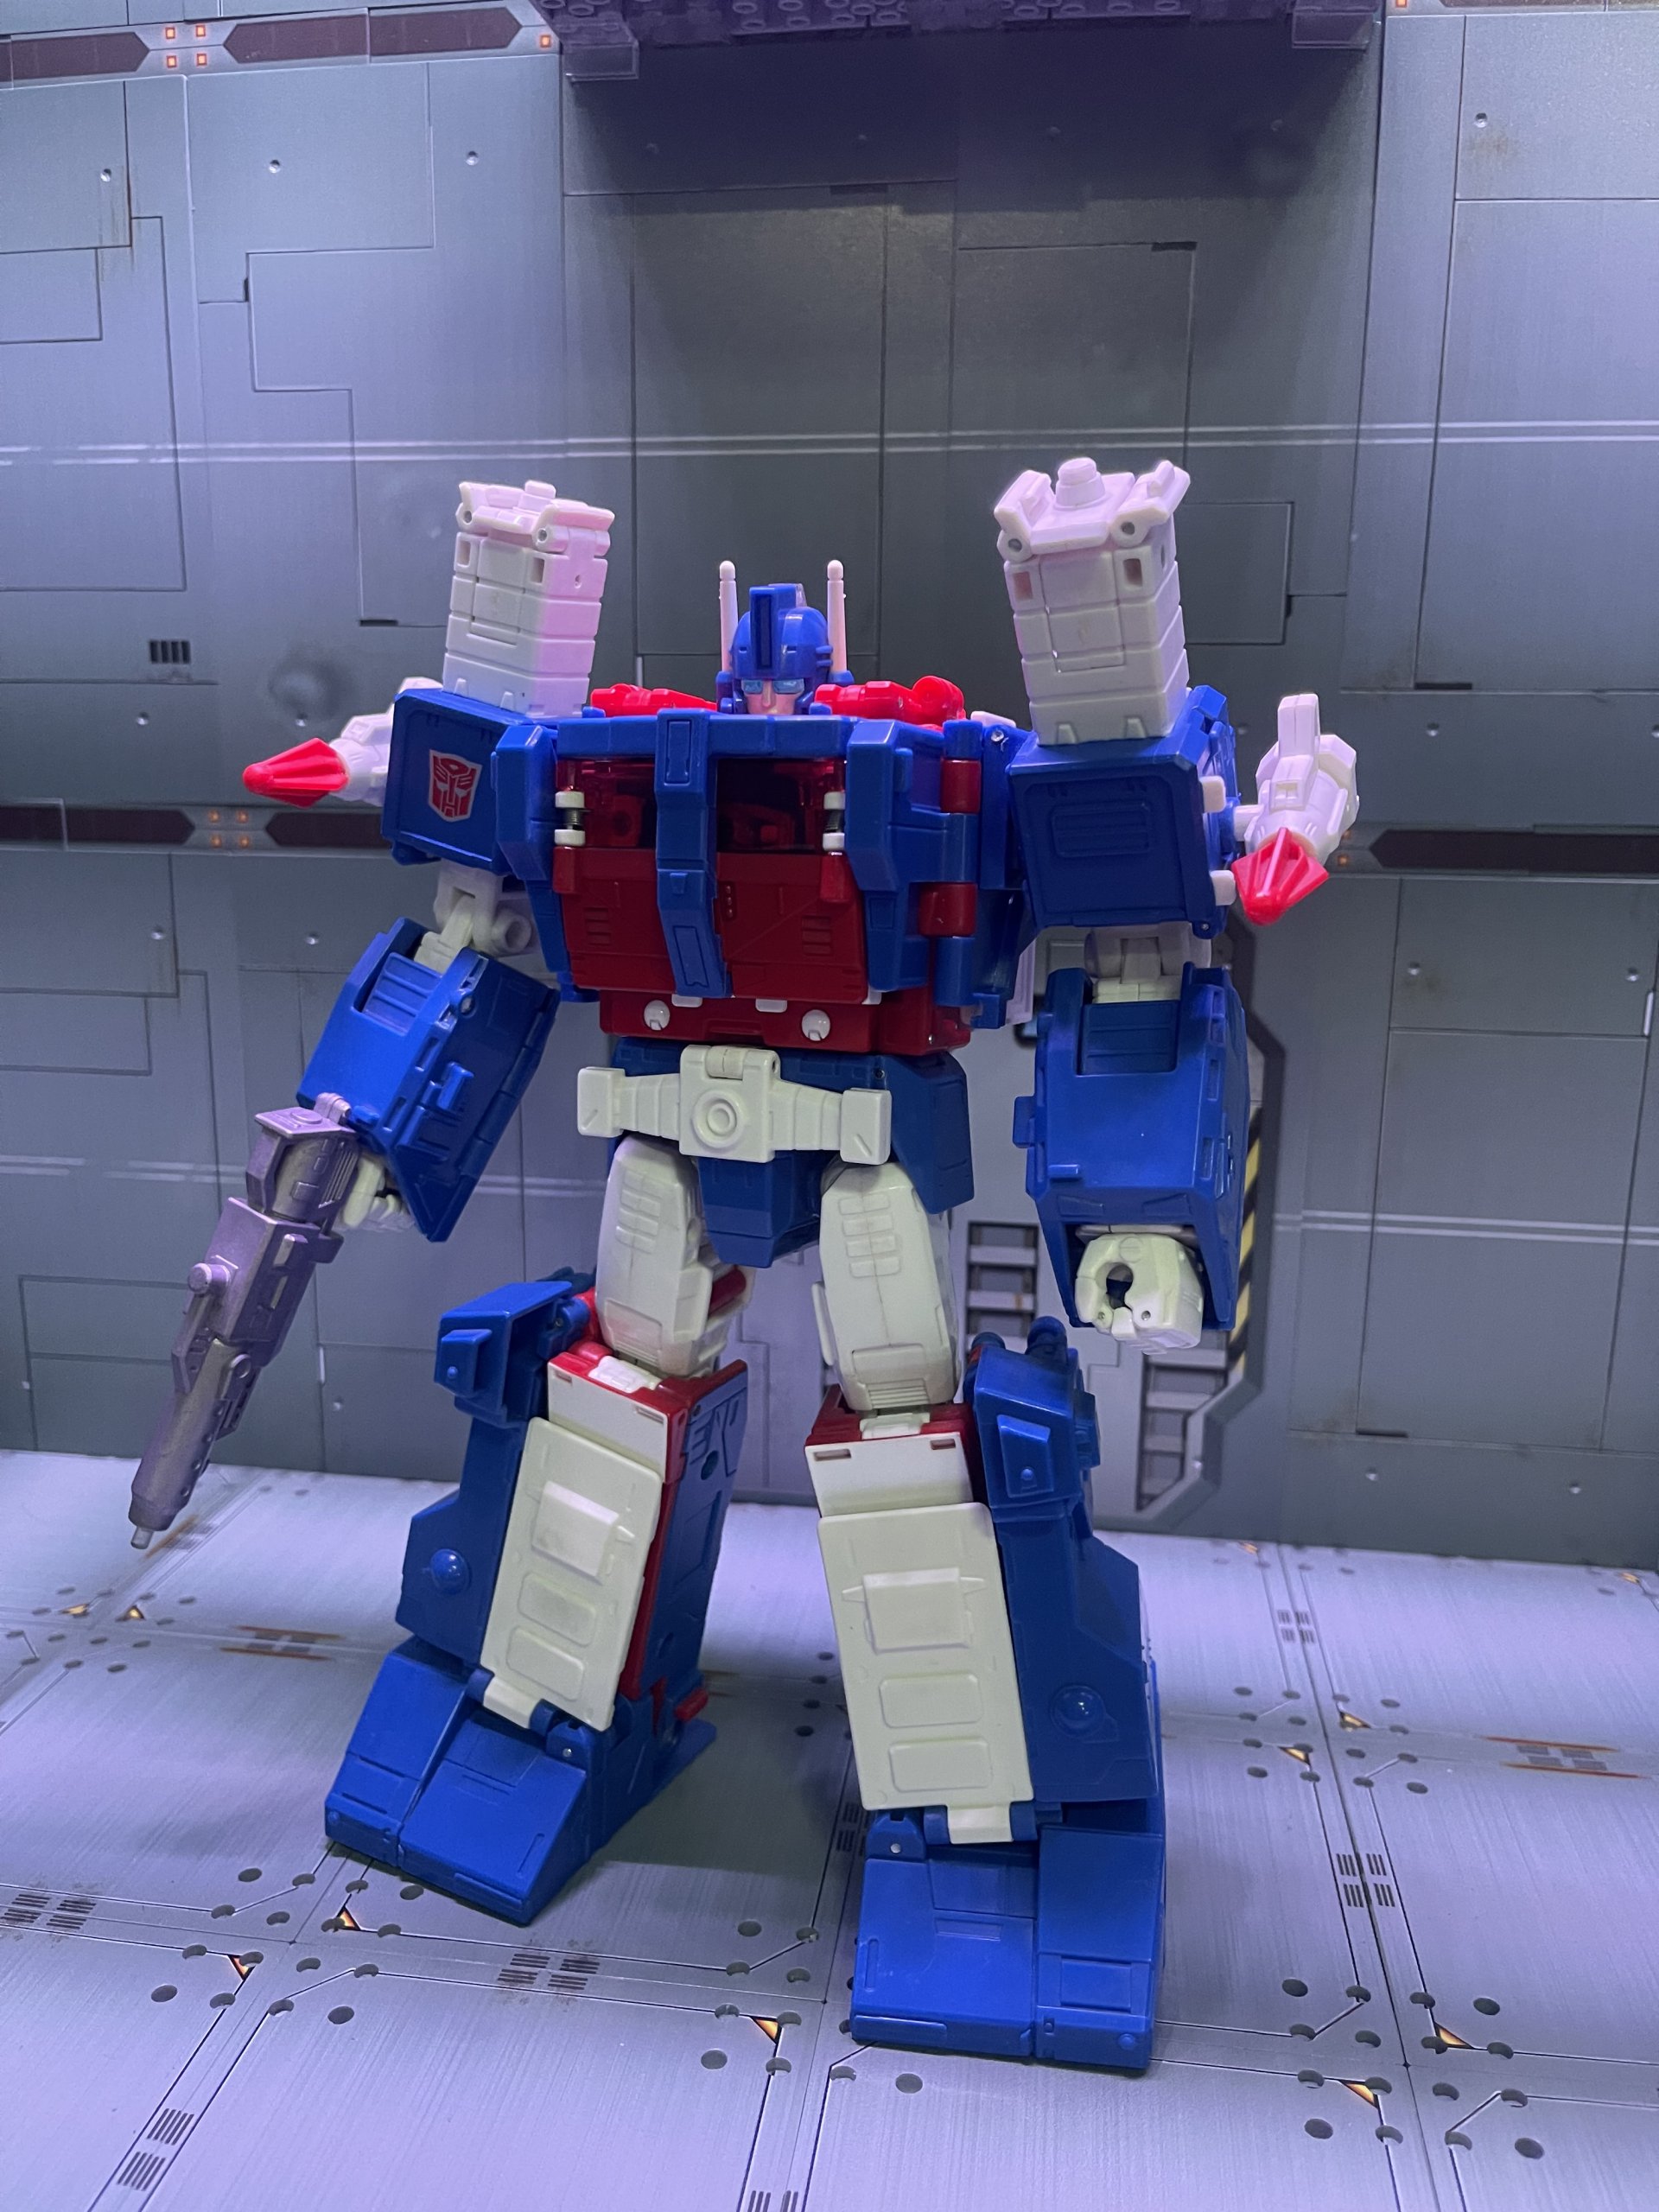
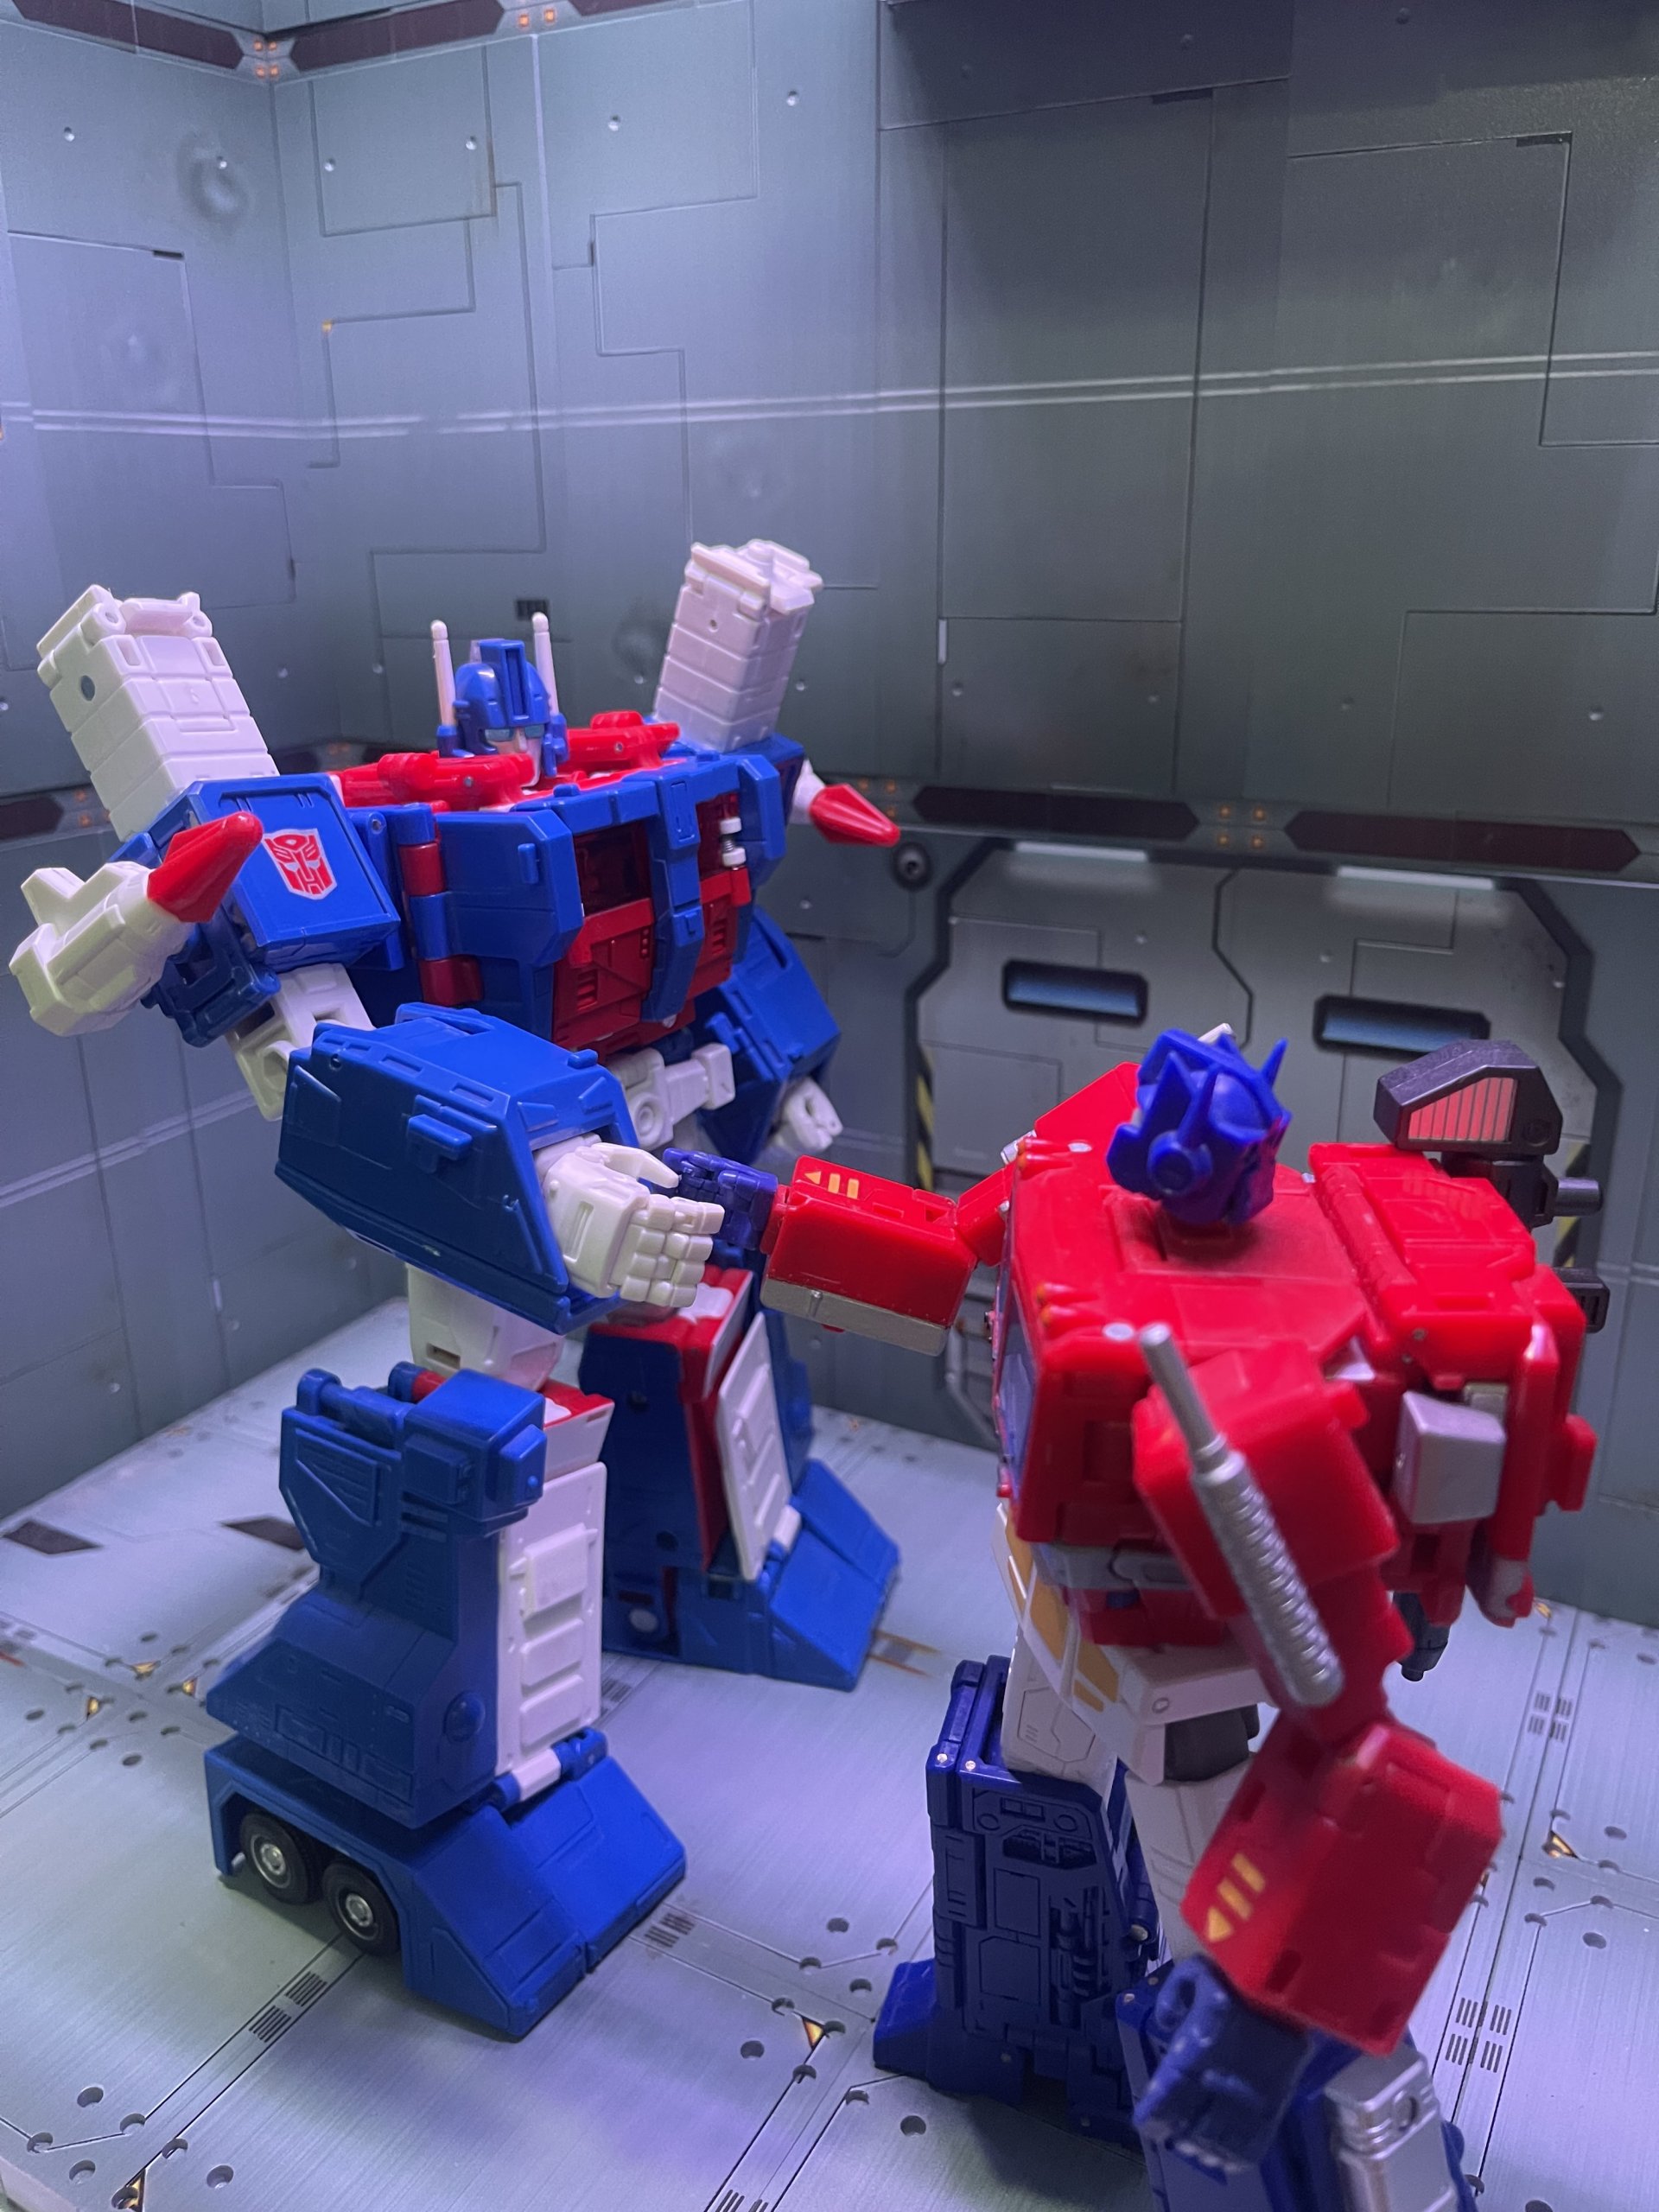
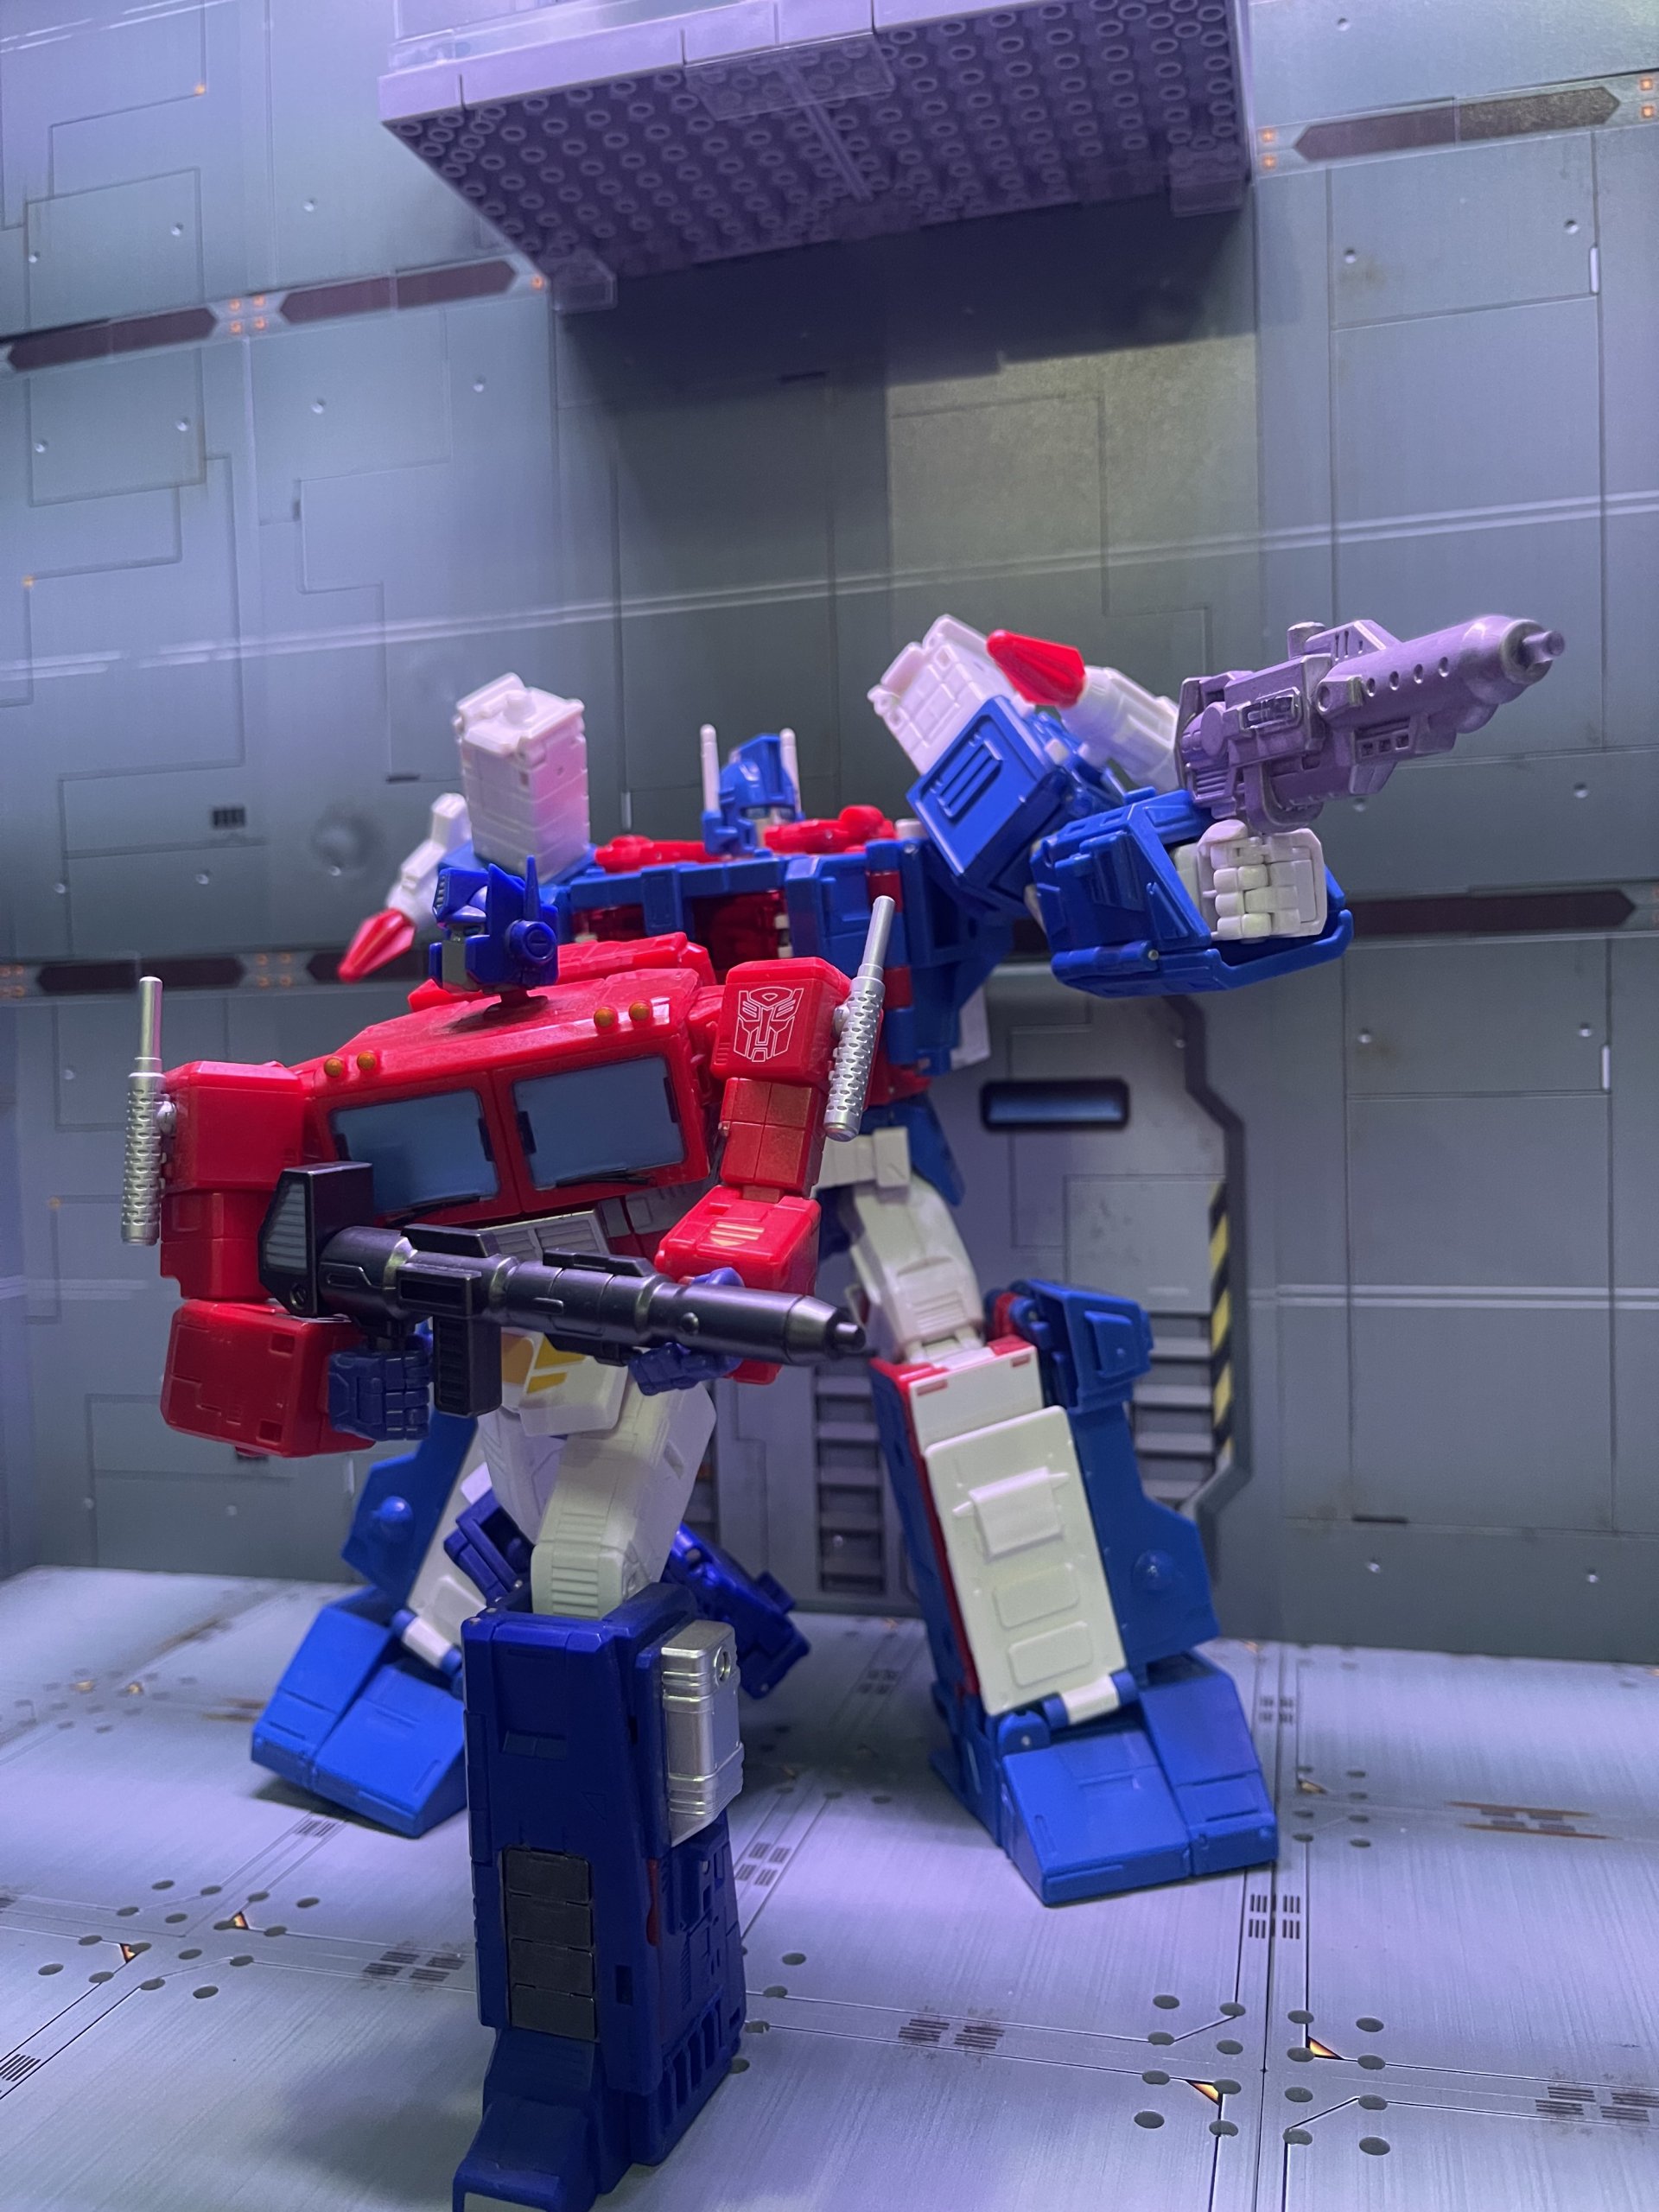
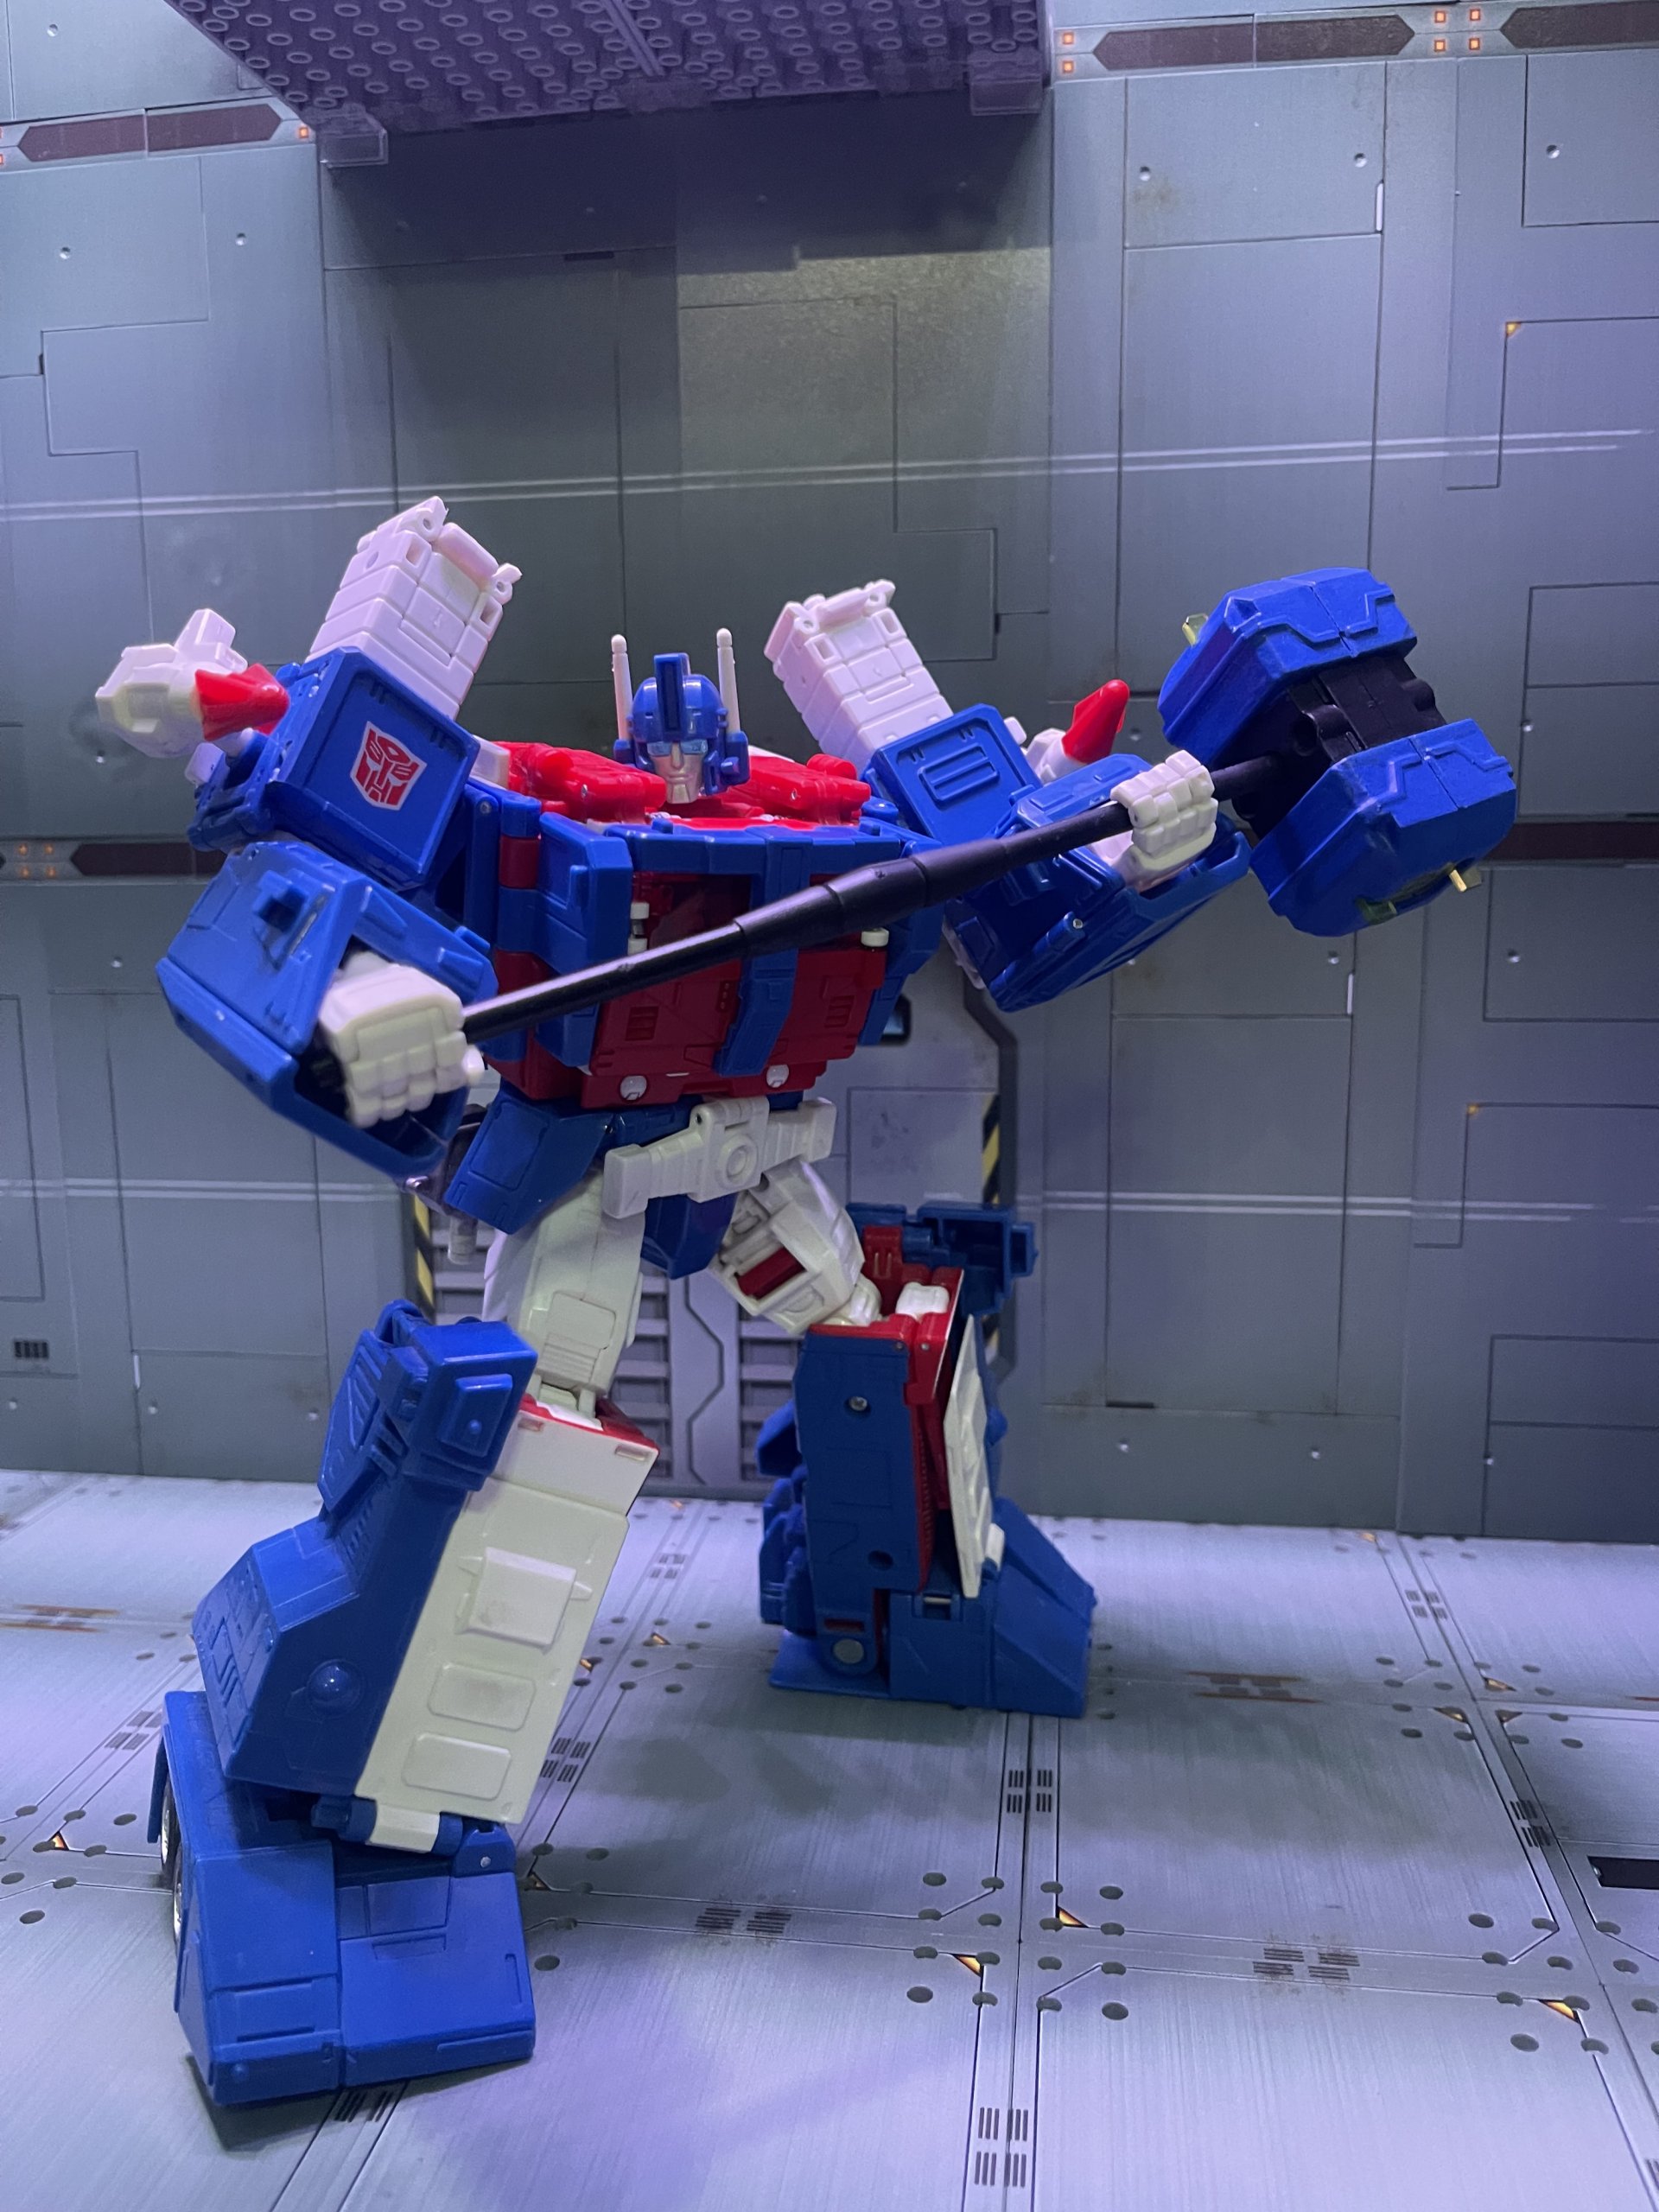
Transformation shows us why Hasbro went with the engineering they did. Transformation is mostly the same, aside from the new shoulder assemblies. Instead of folding up, a panel on the new shoulders pulls out and rotates into the vehicle mode configuration. It works and holds in place in both modes well, but the mid-transformation is fiddly and loose. Vehicle mode ends up slightly better, with the only difference being less obtrusive hinges and somewhat frustratingly, no area for autobot insignias. The pegholes for the missile launchers are slightly too tight but get better once they are pegged in a few times.
Overall, an okay kit that fulfills its mission statement. Needs quite a bit of user skill and separate tools to install so it's not recommended for everyone, but you can't argue the results. Not too expensive as well. It's a provisional recommendation for me.



